- April 18, 2024

-
-
Loading
Loading


1. Select surface and prime
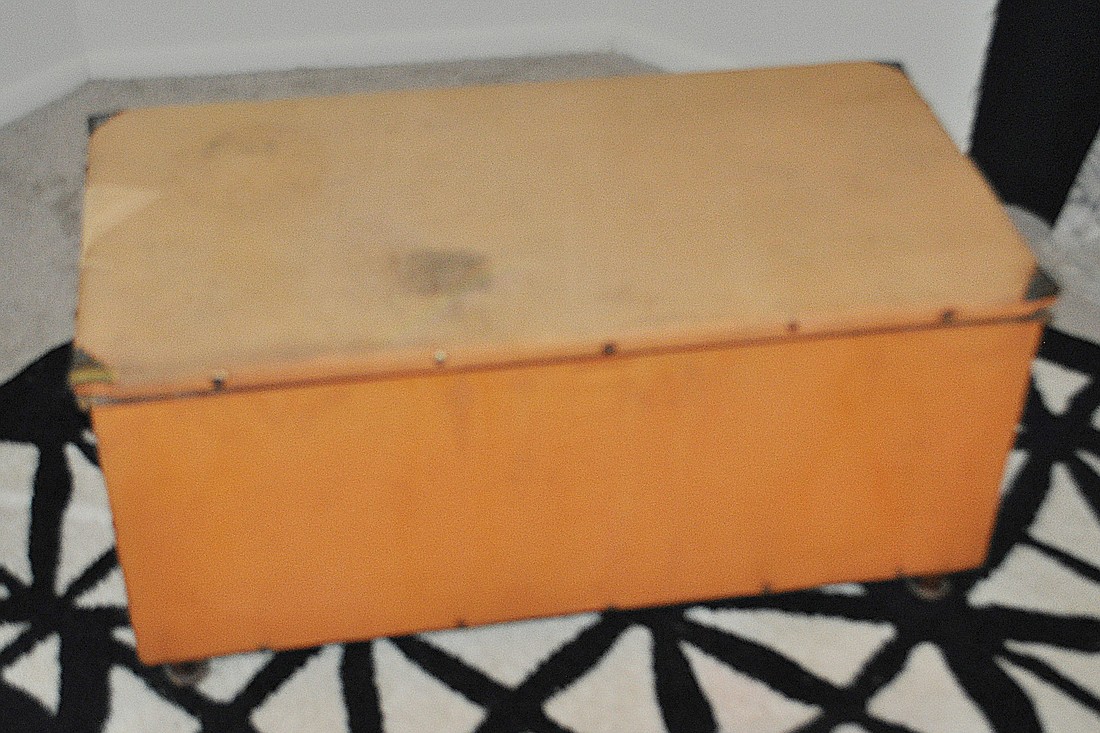
You can patina any surface, so have fun. For our project, we stripped the material and hardware off of an old, moldy trunk we found by a dumpster (our favorite craft-supply store). Once we stripped all the material, we sanded it and primed it with Killz to get rid of any mildew and to prevent it from rotting in the future.
2. Coat with copper or metal paint
The patina will need to be applied to wet metallic paint. The paint we use is by Sophisticated Finishes, and you can buy it in sets from any craft store. We used copper paint, but it also comes in bronze and brass. Apply one coat and let dry. Apply second coat and move on to next step before the paint dries.
3. Apply patina solution (green and blue)
This is where the magic happens. Make sure your copper paint is still wet. Fill the spray bottle with Patina Green solution and spray the entire surface. Use your cheap foam brush and apply the Patina Blue solution. We started at the top and allowed the Patina Blue to really drip. Over the next 15 minutes, the oxidation will happen right before your eyes.
4. Re-apply copper paint where desired
We found it looks best if you go back through and fill some of the patinaed areas with copper paint. It really defines the green and blue rustic colors. Once it all dried, we reapplied the original trunk’s rusty hardware.
5. Prime project
After three days (it takes this long for the patina to fully mature) seal the project. This will make it last and protect the patina from coming off on your hands and carpet. Using a sealer can change the texture and color, but it’s necessary protection.